
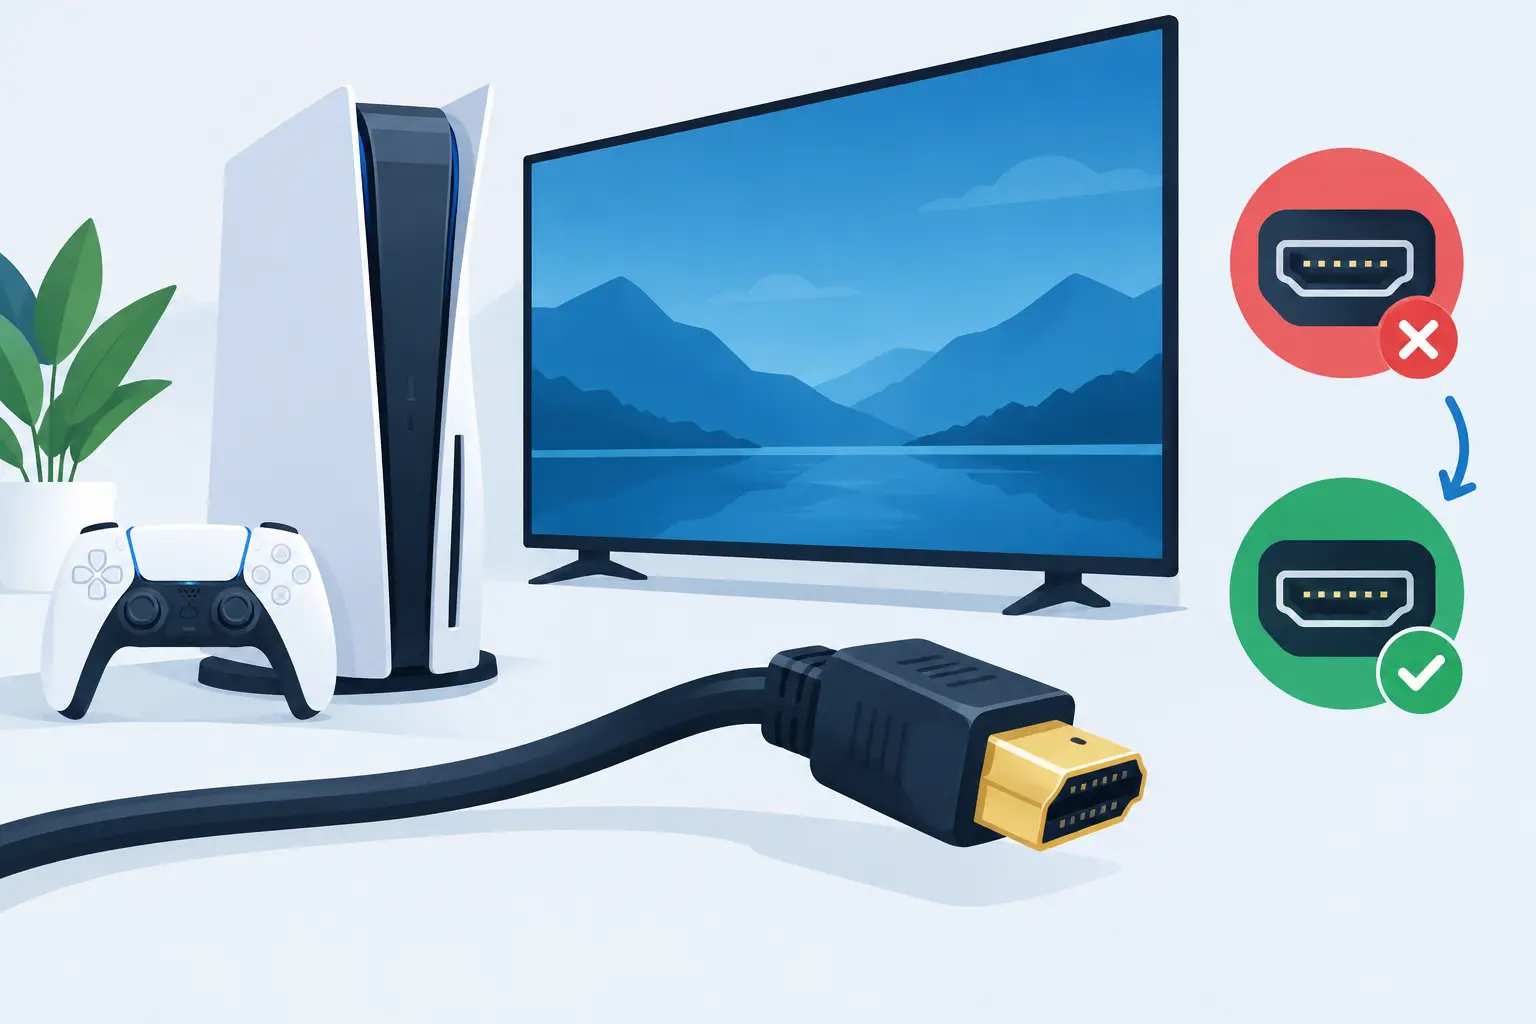
A blank TV screen when you are ready to play is frustrating, especially when the console appears to switch on normally. This guide to console HDMI faults helps you separate a simple cable or settings issue from physical port damage that needs professional repair. In many cases, the console itself is working perfectly – it just cannot send a clear picture to the TV.
HDMI faults affect PlayStation, Xbox and Nintendo consoles, particularly devices that are moved often, used with several screens or have had a cable pulled at an angle. The right first checks can save time and avoid an unnecessary repair. Equally, forcing a loose port or repeatedly changing settings can turn a repairable fault into a more expensive board-level issue.
What an HDMI fault looks like
The most familiar symptom is a TV message saying “No Signal” while the console powers on. You may hear the startup sound, see a power light or feel the console warming up, yet nothing appears on screen. That points to the connection path, but it does not automatically mean the HDMI port is at fault.
Other signs are more specific. The picture may flicker, cut out during play, show coloured dots or lines, lose sound, or only work when the cable is held in a certain position. Some consoles display an image at a lower resolution but fail when 4K, HDR or 120Hz modes are enabled. These symptoms can result from the cable, TV input, console settings or the HDMI socket itself.
A damaged port often feels loose, has bent internal pins, or no longer holds the plug squarely. Do not use a torch, pin or metal tool inside the socket. HDMI pins are delicate, and attempting to straighten them without the correct equipment can cause further damage to the port or the motherboard.
Start with the checks that cost nothing
Before assuming a console repair is needed, switch the console off fully and work through a few basic tests. Use a different HDMI cable that you know works with another device, then try another HDMI input on the television. If possible, test the console on a second TV or monitor.
This matters because HDMI cables can fail internally without visible damage. A cable may also support a basic picture but struggle with higher bandwidth features, such as 4K gaming. For newer PlayStation and Xbox models, use a good-quality cable suited to the resolution and refresh rate you want to use. It does not need to be the most expensive cable in the shop, but a damaged or very old lead is not a reliable test.
Check the TV has been set to the correct source. It sounds obvious, but modern TVs may have several HDMI inputs and can retain the last device setting. If you use a soundbar, AV receiver, HDMI switch or capture card, temporarily remove it from the setup. Connect the console directly to the TV first. Extra equipment introduces more potential failure points.
Finally, power-cycle both devices. Turn the TV and console off at the mains, wait for around a minute, then reconnect them. This can clear a temporary HDMI handshake problem, where the TV and console have failed to agree on picture settings.
When settings are the real problem
A working HDMI port can still give you a black screen if the console is sending a display mode the TV cannot accept. This is common after connecting a console to a different television, monitor or capture device.
PlayStation and Xbox consoles have safe or low-resolution startup modes that can help restore an image. The exact button sequence varies by model, so use the official instructions for your console rather than guessing. Once you have a picture, set the resolution, refresh rate and HDR options to settings supported by your TV.
Nintendo Switch issues can be slightly different. If the console works in handheld mode but not through the dock, test another HDMI lead, another TV input and, where possible, another compatible dock. The fault may sit with the dock, its USB-C connection, its power supply or the console’s charging port rather than the TV-side HDMI socket.
If the picture returns after lowering the resolution, do not assume the issue has disappeared. It may be a compatibility setting, but intermittent problems at 4K can also indicate a weakened cable or damaged HDMI circuitry. The pattern of the fault is useful information for a technician.
Signs your console needs HDMI port repair
Physical HDMI damage is most likely after a drop, a knock to the cable, moving the console while connected or repeated strain from a tightly routed lead. A port repair is usually required when the socket is visibly damaged, the plug will not sit firmly, or the display only comes back when the cable is pushed in a particular direction.
On PlayStation and Xbox consoles, HDMI ports are soldered directly to the main board. Replacing one is not simply a case of fitting a new socket. The damaged port must be removed carefully, the solder pads inspected and cleaned, and the replacement fitted accurately. Depending on the damage, the technician may also need to assess the surrounding filters, traces or HDMI control circuit.
That is why a quick internet fix involving glue, folded paper or levering the connector is a poor trade-off. It may hold the cable in place briefly, but it can damage pads on the board and make the final repair more involved. If you can see bent pins or the port has lifted from the casing, stop plugging cables in and arrange a diagnosis.
A guide to console HDMI faults: repair or replace?
Whether repair makes sense depends on the console model, its age and the extent of the damage. For a current-generation PlayStation or Xbox, HDMI repair is commonly far more cost-effective than replacing the console. It also preserves your installed games, saved data and account setup where the storage is still intact.
Older consoles need a more individual assessment. A straightforward port replacement may still be worthwhile for a console in good condition, particularly if it has sentimental value or remains part of the household gaming setup. However, if there are additional faults such as liquid damage, power failure or motherboard corrosion, a clear diagnostic result and transparent quote matter before work begins.
A good repairer should explain what has been found, what the repair involves and whether there are any risks beyond the visible damage. Avoid anyone who promises a fixed outcome before inspecting an intermittent no-signal issue. HDMI faults can look similar from the outside, while the cause can range from a £10 cable to a damaged circuit on the main board.
Protect the port after repair
Once the issue is resolved, a few habits can prevent it returning. Keep enough slack in the HDMI cable that it does not pull on the rear of the console. When moving the console, disconnect the lead first rather than carrying the unit with cables attached. Insert and remove the plug straight, without twisting it side to side.
For consoles stored in tight TV units, check that the cable is not sharply bent against a wall or shelf. A right-angle adapter can sometimes reduce strain, but only use one that fits securely and supports the picture settings you use. If children regularly swap consoles or move cables, label the leads and keep the setup accessible rather than stretching connectors around furniture.
For customers in Sheffield, Mobitech Sheffield can diagnose console display faults and advise whether the problem is the cable, settings, port or a deeper board-level issue. With a no-fix-no-fee approach, you can get a clear answer before committing to a repair. A no-signal screen should not mean the end of a good console – careful testing and the right repair can get game night back on track.
