
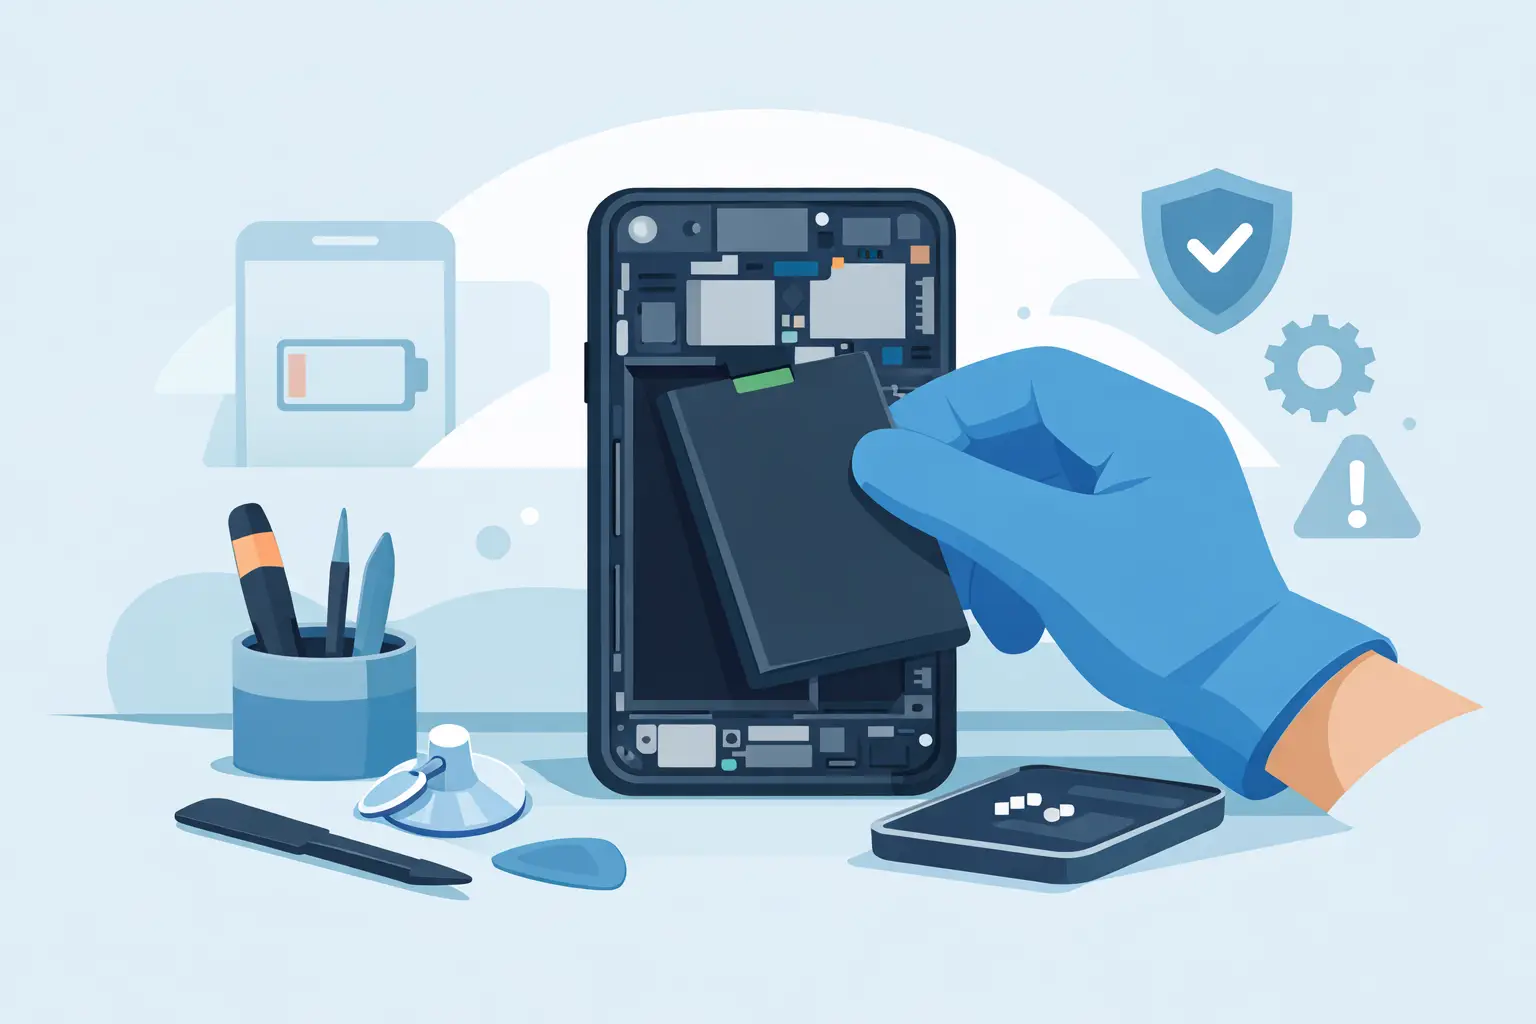
A phone that drops from 40% to 5%, shuts down in the cold or needs charging twice a day is not just inconvenient. It can interrupt work, travel, school runs and everyday contact with family. Knowing how to replace phone battery can help you decide whether a repair is realistic, but modern phones are more complex than the removable-back models many people remember.
For some devices, a careful DIY repair is possible with the right tools, parts and patience. For many newer iPhones, Samsung Galaxy phones and Google Pixel models, professional replacement is the safer option. Batteries sit beneath tightly bonded screens or rear glass, and one mistake can damage the display, charging coil, cameras or water-resistance seals.
First, check whether the battery is the real problem
Not every charging issue means the battery has failed. A worn charging port, damaged cable, faulty plug, software problem or an app draining power in the background can produce similar symptoms. Before opening your phone, test it with a known-good cable and plug, inspect the charging port for compacted lint, and install any available software updates.
Battery health is a better clue. On many iPhones, Battery Health in Settings shows the maximum capacity remaining. A figure below 80% often means a replacement is worth considering, particularly if performance has become unreliable. Android phones vary by manufacturer, but rapid drain, unexpected shutdowns, overheating during normal use and a noticeably swollen battery are all warning signs.
A swollen battery needs urgent attention. Stop charging and using the phone, do not press the screen or rear cover back into place, and do not attempt to puncture or flatten the battery. Lithium-ion batteries can catch fire when damaged. Keep the device away from heat and arrange a professional assessment as soon as possible.
How to replace phone battery: decide if DIY makes sense
The key question is not simply whether you can remove the old battery. It is whether you can do so without creating a more expensive fault. Older phones with removable rear covers are straightforward. Most current smartphones are not.
A DIY repair may make sense if the phone is out of warranty, you have experience working with small electronics, and you can source a battery designed for the exact model number. Model names are not always enough. Similar-looking versions can use different connectors, battery shapes or capacities.
Professional repair is usually the better route when the phone has a cracked back or screen, uses a glued display, has any signs of swelling, or is still valuable enough that a damaged screen would be costly to replace. It also makes sense when you need the phone back quickly and cannot afford trial and error.
Bear in mind that opening a phone can affect its original water and dust resistance. A quality repair can fit fresh adhesive seals, but the manufacturer’s original factory rating cannot always be guaranteed after the device has been opened.
What you need before opening the phone
Do not start by heating or prising the phone open. Back up your photos, messages and important files first. Although a battery replacement should not erase data, any repair carries a small risk if a connector, display or circuit is damaged.
You will need the correct replacement battery, compatible precision screwdrivers, plastic opening picks, a suction tool, non-metal tweezers and battery adhesive. Controlled heat may also be required to soften the screen or rear-cover adhesive. Avoid using household tools such as kitchen knives, excessive heat from a hairdryer or sharp metal blades near the battery.
Cheap, unverified batteries are a false economy. They may have lower real capacity than advertised, poor temperature control, short service life or an incorrect fit. Choose a reputable replacement part with a clear model match and warranty. If the price seems unusually low, there is often a reason.
Before opening the device, power it down completely. Remove the SIM tray if it blocks access to the frame, work on a clean, well-lit surface and keep every screw organised. Smartphone screws can look identical while differing slightly in length. Putting the wrong screw back in the wrong position can damage the screen or motherboard.
The safe battery replacement process
The exact method varies by model, so use a repair guide that matches your phone’s full model number. The general process follows the same order.
First, soften the adhesive around the screen or rear cover with gentle, even heat. The goal is to loosen adhesive, not make the phone hot to touch. Create a small gap with a suction tool, then work a plastic pick slowly around the edge. Never force the cover. If it will not move, apply a little more controlled heat and try again.
Once open, disconnect the battery before touching other internal connectors. This reduces the chance of shorting a component while removing the screen, charging coil or other parts that may be in the way. Many phones have metal shields over their connectors, held by tiny screws that must go back in the same positions.
The battery itself is often secured with strong pull tabs or adhesive strips. If pull tabs are present, stretch them out slowly at a low angle. They can snap if pulled upwards or too quickly. If there are no tabs, use only the approved method for that model to soften or release adhesive. Do not lever directly against the battery with a metal tool, and never bend, crease or puncture it.
Fit the new battery using fresh adhesive, reconnect it and test the phone before sealing it fully. Check that it powers on, accepts a charge, responds to touch and that the cameras, speakers and buttons still work. Once you are satisfied, refit shields and screws, apply new perimeter adhesive where required, and close the phone carefully.
What to do after fitting a new battery
A new battery does not usually need complicated calibration. Charge it normally, use the phone as you normally would, and allow a few full charge cycles for the battery indicator to settle. Avoid routinely draining it to 0%, as lithium-ion batteries generally last longer when kept away from frequent full discharge.
For day-to-day battery care, use a good-quality charger, avoid leaving the phone in a hot car, remove bulky cases if the device gets unusually warm while charging, and keep software updated. Fast charging is useful, but heat is the main enemy of long-term battery health.
Recycle the old battery properly. Do not put it in household rubbish or leave it loose in a drawer. Damaged or depleted lithium-ion batteries need to be taken to an appropriate battery recycling point or handled by a repair business that can dispose of them safely.
When to choose a professional phone battery repair
There is no prize for completing a difficult phone repair yourself. If the phone is your work device, contains essential photos, has a high-value OLED display or shows any swelling, the sensible choice is an experienced technician. A proper repair should include a model-specific quality battery, careful disassembly, functional testing and clear information about the work carried out.
For Sheffield customers, Mobitech Sheffield can assess whether the issue is genuinely the battery or another fault, then provide a straightforward repair option with transparent pricing and warranty-backed workmanship. This is particularly useful when a phone will not charge, the battery drains despite a replacement, or the device needs a screen or charging-port repair at the same time.
A failing battery does not automatically mean you need a new phone. When the rest of the device is working well, a correctly fitted replacement can give it years of useful life and keep your day moving without the cost of replacing everything.
